
4.4
Owner's of the Canon Digital Camera PowerShot gave it a score of 4.4 out of 5. Here's how the scores stacked up:


Printing Images
215
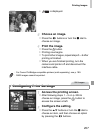
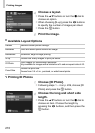
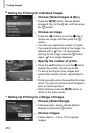
Configure the print settings.
Press the op buttons to choose [Order],
and then press the m button.
Choose [Select All Images].
Following step 1 on p. 214, choose [Select All
Images] and press the m button.
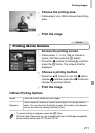
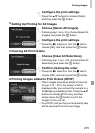
Configure the print settings.
Press the qr buttons or turn the 7 dial to
choose [OK], and then press the m button.
Choose [Clear All Selections].
Following step 1 on p. 214, choose [Clear All
Selections] and press the m button.
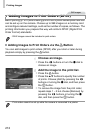
Confirm clearing the order.
Press the qr buttons or turn the 7 dial to
choose [OK], and then press the m button.
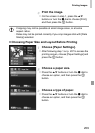
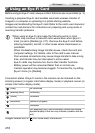
When images have been added to the print
list (pp. 212 – 215), the screen at left is
displayed after you connect the camera to a
PictBridge-compatible printer. Press the op
buttons to choose [Print now], and then
simply press the m button to print the
images in the print list.
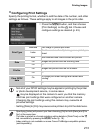
Any DPOF print job that you temporarily stop
will be resumed from the next image.
Setting Up Printing for All Images
Clearing All Print Orders
Printing Images Added to Print Orders (DPOF)


Find Your Products By Category
Please Login
