
5.0
Owner's of the Yamaha Indoor Furnishings SPMK30 gave it a score of 5.0 out of 5. Here's how the scores stacked up:

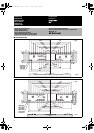
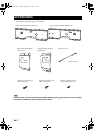
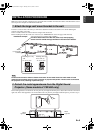
INSTALLATION PROCEDURE
En 8
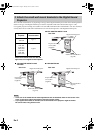
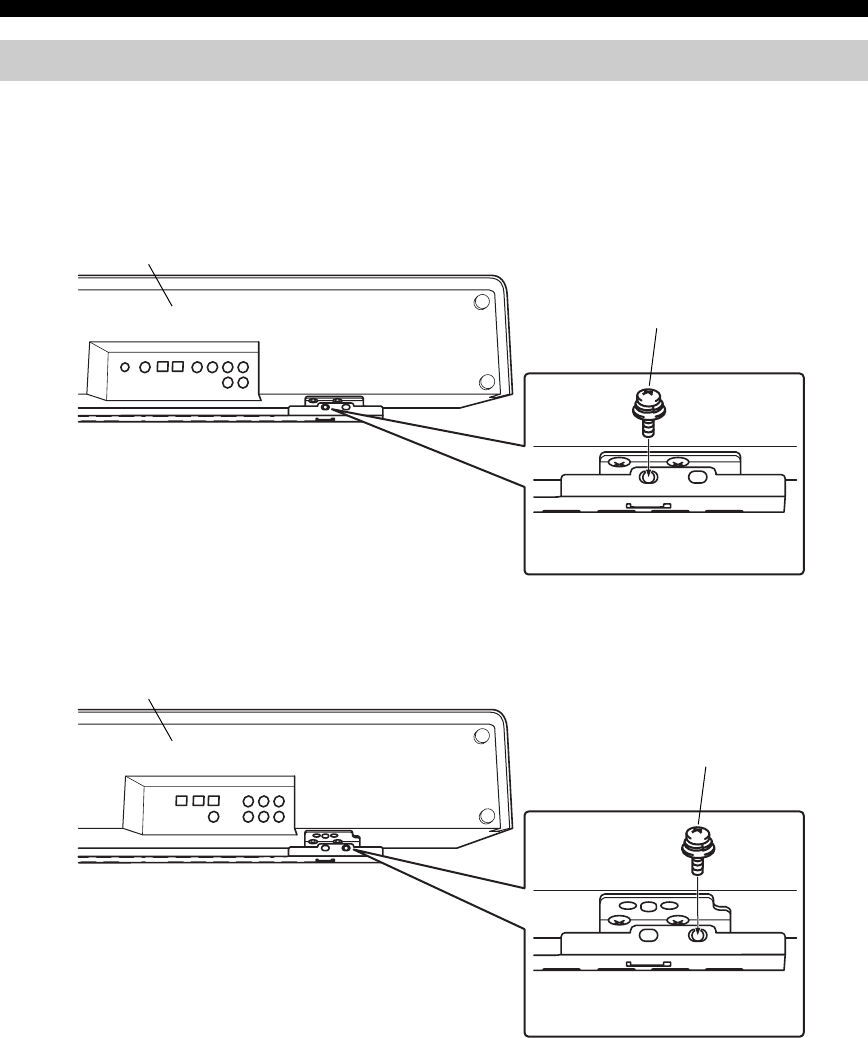
Align the holes in the large wall mount bracket with the holes in the bottom of the small wall mount brackets, and then
use two of the supplied projector mounting screws (M6 x 16) to secure the unit. The positions of the screw holes vary
depending on the type of the Digital Sound Projector. Refer to the following illustrations and check the correct positions
of the screw holes used to secure your Digital Sound Projector.
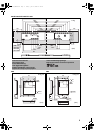
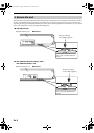
6 Secure the unit.
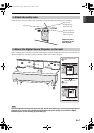
Bottom View
Digital Sound Projector
Projector mounting
screws (M6) (supplied)
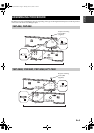
Use the inward screw hole on each
side to secure your Digital Sound
Projector.
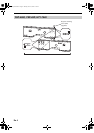
Use the outward screw hole on each
side to secure your Digital Sound
Projector.
■ YSP-800/YSP-900
■ YSP-3000/YSP-30D/YSP-3050/HTY-7030/
YSP-4000/YSP-40D/HTY-7040
Bottom ViewDigital Sound Projector
Projector mounting
screws (M6) (supplied)
01_EN_SPM-K30.fm Page 8 Monday, June 18, 2007 5:59 PM


Find Your Products By Category
Please Login
