
0
Owner's of the Marantz Car Stereo System AV Pre Tuner gave it a score of 0 out of 5. Here's how the scores stacked up:
30
2
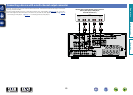
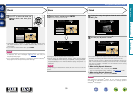
Set up the subwoofer
If using a subwoofer capable of the following
adjustments, set up the subwoofer as shown below.
For details, see your subwoofer’s manual.
n When using a subwoofer with a direct mode
Set the direct mode to “On” and disable the volume adjustment
and crossover frequency setting.
n When using a subwoofer without a direct mode
Make the following settings:
•Volume : “12 o’clock position”
•Crossover frequency : “Maximum/Highest Frequency”
•Low pass filter : “Off”
•Standby mode : “Off”
NOTE
When using 2 subwoofers at the same time, before starting
Audyssey
®
Setup. adjust the volume of the subwoofers by using
“Subwoofer Level” (vpage111) from the menu. You cannot set
the volume for individual subwoofers.
3
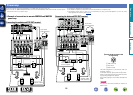
Set up the remote control unit
n Set up the zone mode
Press ZONE SELECT to switch “MAIN”.
Press ZONE SELECT
NOTE
When using a remote control with preset codes registered
(vpage143), press AVR to set the remote control to the AVR-
operation mode before operation.
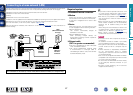
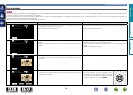
1
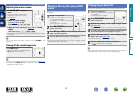
Prepare the included setup microphone
Mount the setup microphone on a tripod or stand
and place it in the main listening position.
When placing the setup microphone, adjust the height of the
sound receptor to the level of the listener’s ear.
Sound receptor
Setup
microphone
If you do not have a tripod or stand, set up the microphone on, for
example, a seat without a back.
NOTE
•Do not hold the setup microphone in your hand during
measurements.
•Avoid placing the setup microphone close to a seat back or wall as
sound reflections may give inaccurate results.
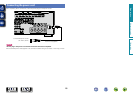
Set up speakers (Audyssey
®
Setup)
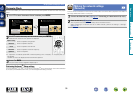
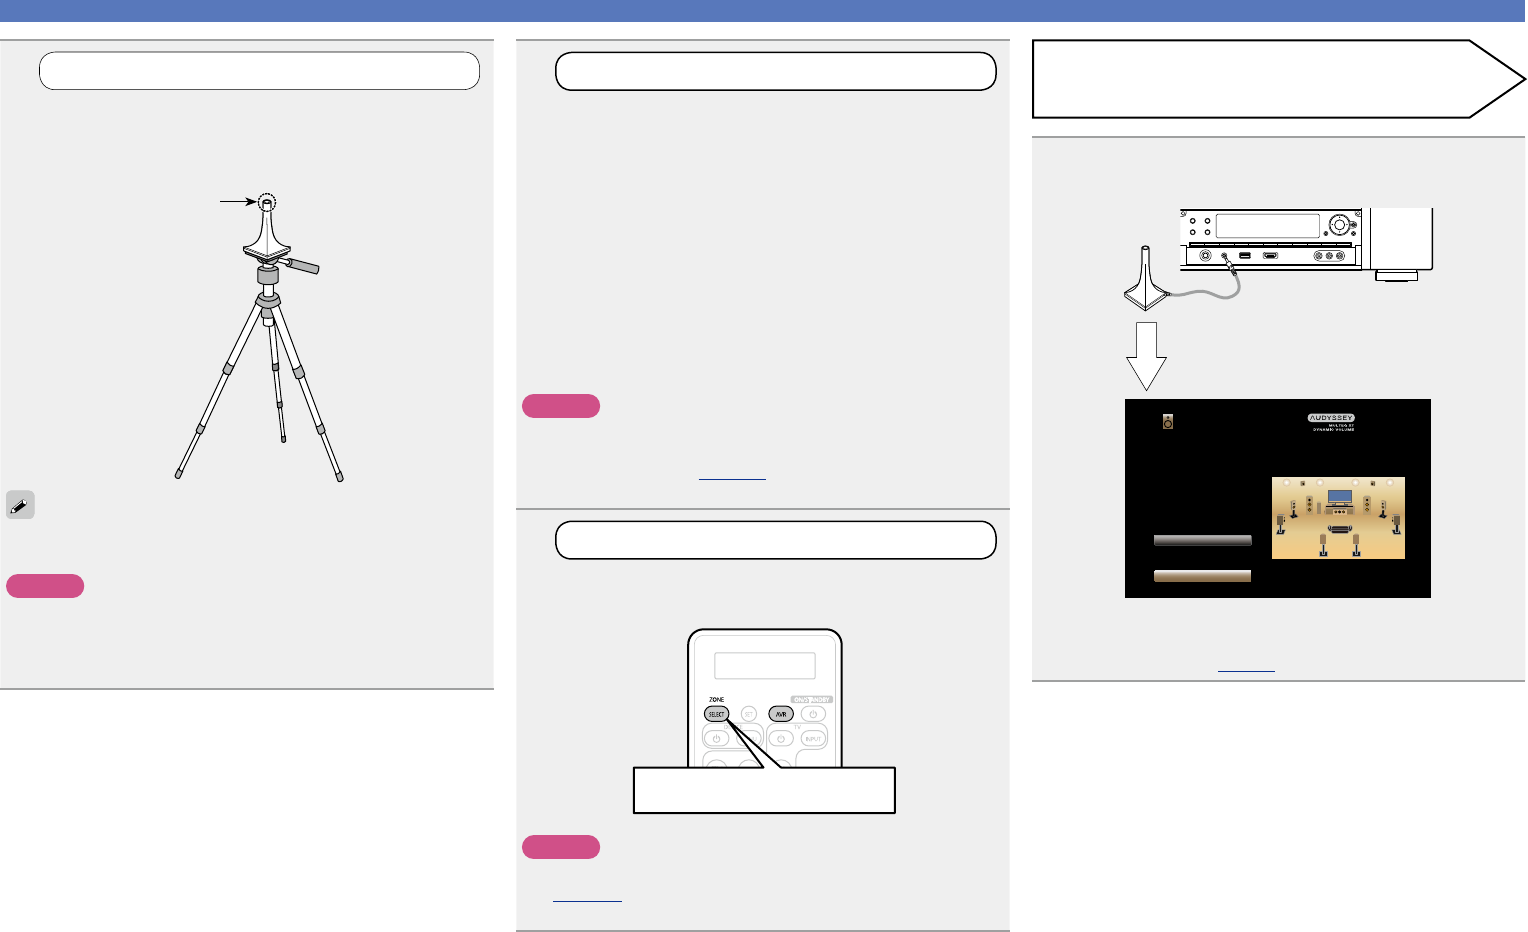
4
Connect the setup microphone to the SETUP MIC
jack of this unit.
Audyssey Setup
Channel Select
Start
Your AV preamp can automatically measure the acoustics of
your room then optimize your speakers using the included
microphone.
Set the following items
if necessary.
When the setup microphone is
connected, the following screen is
displayed.
•If unused channels are set with “Channel Select”, measuring time
can be shortened. For setting, perform steps 3 to 9 of “Set up
“Channel Select”” (vpage88).
Preparation
Basic version
Advanced version
Information
Basic version
v See overleaf
DVD


Find Your Products By Category
Please Login
